Many people come to mosaic art because of the materials. There is a sense of wonder when mosaic materials are put together cohesively, creating a piece you or others will enjoy.
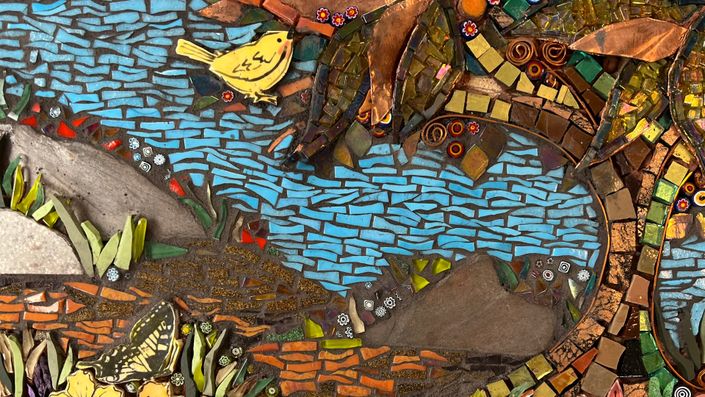
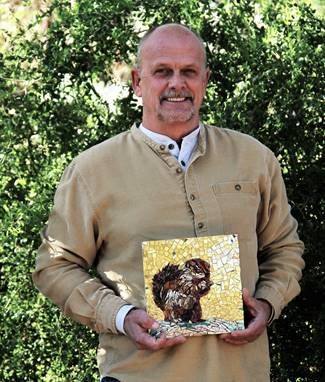
This is where David Jarvinen comes in. David loves to tell a story using mosaic art materials. Now, you can learn from David’s years of experience and talent in his latest online course, The Tree of Life, exclusively at Mosaic Arts Online.
In this course, David teaches how to work with various mosaic materials to create depth and perspective. Telling a story in mosaic art can be challenging, but with David’s methods, you will see how easy it is to create a dynamic piece.
In this course, you will learn the following:
- David’s favorite substrates
- How to choose the materials that will tell a story
- How to create David’s copper foil mosaic leaves
- How to dry lay the materials and audition your pieces
- David’s special adhesive method
- How to adhere each piece and element
- How to mosaic the background
- David’s method for partially grouting the piece
David demonstrates using a wide variety of materials, but it is not mandatory to have all of these materials on hand to create. It is up to you the artist to pick and choose what works for you and what you may already have in your studio or art space.
Once you learn David’s techniques imagine the limitless Tree of Life projects you can create for yourself or loved ones.
David has included his list of supplies and resources for you to get started!
Your Instructor

I came to the mosaic industry through ceramic tile contracting and a couple of clay artists. Our business was remodeling kitchens and baths with ceramic and glass tile, and doing tile jobs most other contractors wouldn’t. This led to a reputation for being creative.
During this time, I met those couple of clay artists that asked me to assist with their school and public mural installations they had created. It was great fun and I volunteered to help. Then, after a year or two of volunteering, I landed a paying gig to cover for one of the artist installers, as they needed to go out of town. That was the beginning. Circa 1998.
From this beginning, I worked to incorporate mosaics into my contracting business and there was a market! It wasn’t huge, but it was there—I worked to make mosaics mainstream through our business and have had some happy customers as a result.
Most of my work was architectural in nature. Then the clay artist who had instructed classes, for which I assisted—was moving out of state, so I approached the host venues and inquired to see if I could take over for her. They were happy to give me a try. That was the beginning of my instruction career. Circa 2004.
I continued to expand my collaborations and as of 2017 I am continuing to instruct, learn and create mosaics!
Course Curriculum
-
StartIntro and personal interview with David and Tami (4:08)
-
StartPDF for download. Suggested Tools, Materials, and Resources
-
StartMaterials tour (2:14)
-
StartProject overview (1:11)
-
StartAdd hanging hardware first (1:54)
-
StartRough sketch the image in layers (1:35)
-
StartCreating the leaves out of copper foil (7:34)
-
StartAdding the mosaic material to the copper leaves (10:45)
-
StartHow to bend and seal the leaves (3:58)
-
StartAltering the wire, dry laying the mosaic and ceramic elements (10:08)
-
StartIntroducing the foreground and middle layer elements (9:24)
-
StartTint and mix the mastic adhesive (4:30)
-
StartDavid's method for assembling and adhering the mosaic (13:31)
-
StartDavid reviews his progress and moves on to the background (11:05)
-
StartAdding more texture and depth with the sky (9:52)
-
StartSee how David finishes up the mosaic portion of his Tree of Life project (12:29)
-
StartCleaning the mosaic and mixing the grout (2:05)
-
StartDavid's process for grouting his Tree of Life mosaic project (3:39)
-
StartClean off the excess grout (7:10)
-
StartConclusion and wrap up! (3:36)