Bas-Relief Foam Sculpture with David Jarvinen
Concrete forms for mosaic art just got even more fun!
Enroll in Course
In the world of mosaic art, there are many different versions of “substrates.” The substrate is the surface used to apply a mosaic.
Some examples are Wedi board, Kerdi board, Hydro-blok, HydroDefense, and Hardie Backer. There is also wood, glass, mirror, and the hand-made version with mesh and mortar.
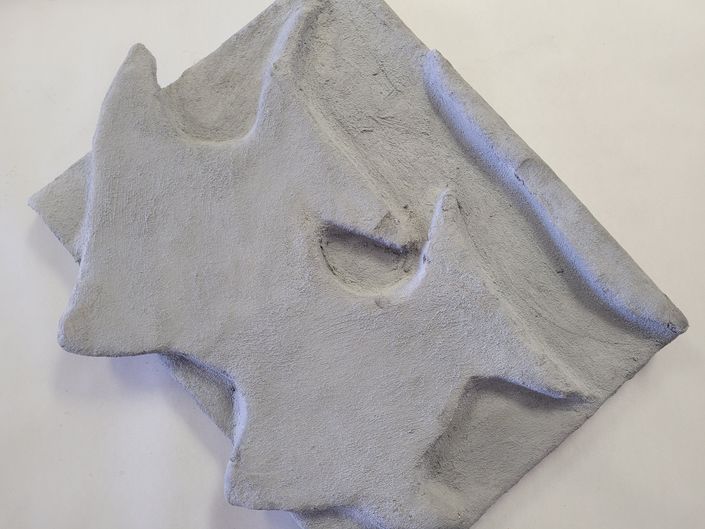
What if you could create a substrate into a dimensional piece that told a story or had a focal point using polystyrene and a speicific type of cement grout? What if this dimensional piece had a bas-relief effect for more interest and dimension?
We are thrilled to welcome back David Jarvinen and his latest course, “Bas-Relief Foam Sculpture” exclusively at Mosaic Arts Online.
In this course, David goes step by step on creating a solid and creative substrate using minimal materials in just a few hours.
David will not demonstrate how to mosaic the substrate for this course but will give plenty of photo examples for creative inspiration.
Throughout this course, you will learn the following:
- David’s choice of materials for a successful project each time
- How to adhere a solid backer board and hanging hardware before starting
- How to trace the design onto the foam
- How to cut out the foam pieces
- How to smooth out the edges
- How to secure the foam pieces to the base
- How to prep the foam
- How to mix and apply the cement grout
- How to smooth out and refine the cement grout before curing
Imagine what you can create once you learn David’s tips and techniques. The possibilities are endless in large, medium, or small dimensional forms with mosaic art applied.
Included in this course is a PDF for download of the suggested list of the materials, tools, and resources.

TESTIMONIAL:
I really like this class. It was direct, easy to follow, and I think it will be easy to duplicate. I also love how I can go back and view it again. This class, and the one you did with thin set and fiberglass mesh are two of my very favorite classes. Thank you for streamlining the process, not adding extraneous material, and making this something relatively easy to do.Elena W.
Your Instructor

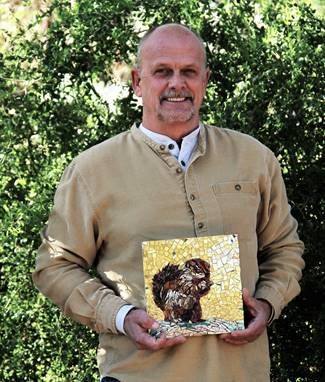
I came to the mosaic industry through ceramic tile contracting and a couple of clay artists. Our business was remodeling kitchens and baths with ceramic and glass tile, and doing tile jobs most other contractors wouldn’t. This led to a reputation for being creative.
During this time, I met those couple of clay artists that asked me to assist with their school and public mural installations they had created. It was great fun and I volunteered to help. Then, after a year or two of volunteering, I landed a paying gig to cover for one of the artist installers, as they needed to go out of town. That was the beginning. Circa 1998.
From this beginning, I worked to incorporate mosaics into my contracting business and there was a market! It wasn’t huge, but it was there—I worked to make mosaics mainstream through our business and have had some happy customers as a result.
Most of my work was architectural in nature. Then the clay artist who had instructed classes, for which I assisted—was moving out of state, so I approached the host venues and inquired to see if I could take over for her. They were happy to give me a try. That was the beginning of my instruction career. Circa 2004.
I continued to expand my collaborations and as of 2017 I am continuing to instruct, learn and create mosaics!
Course Curriculum
-
StartIntro and personal interview with David and Tami (4:26)
-
StartPDF for download. Suggested tools, materials, and resources
-
StartFish template design for download
-
StartCourse overview (0:39)
-
StartMaterials tour (1:28)
-
StartIntro to the backer board (1:02)
-
StartInstall hanging hardware and adhere backer board (4:02)
-
StartTracing and cutting out the forms (5:40)
-
StartSmoothing out the edges of the foam (1:54)
-
StartFastening the dimensional pieces to the base (4:17)
-
StartApplying the concrete bonding (2:11)
-
StartHow to mix and apply the concrete grout (4:34)
-
StartRefine the concrete layer (6:17)
-
StartSmooth out the concrete as it starts to cure (5:15)
-
StartCompleted mosaic pieces for inspiration
-
StartConclusion and thank you! (0:32)