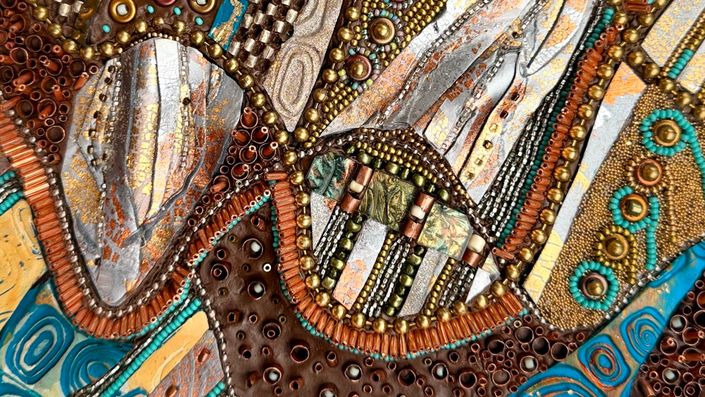
Creative Flow - Mixed Media Mosaics Using Beads and Polymer Clay with Libby Hintz
Learn to mosaic with beads and polymer clay in a whole new way!!
Enroll in Course
What if you could create beautiful mosaics without cutting a single piece of glass or tile?
At Mosaic Arts Online, we love introducing artists who explore new materials, experiment with techniques, and inspire us to think differently about mosaic art. And that is exactly what Libby Hintz brings to this exciting new course!
After more than 20 years of making mosaics, Libby began asking herself a simple question: How can I bring more freedom, spontaneity, and joy into my creative process?
Her answer took her back to childhood, when she could spend hours with a fresh sheet of paper and colorful markers, happily creating patterns and designs without worrying about the outcome.
She wanted to recreate that feeling through mosaics, and her exploration of beads and polymer clay opened up an entirely new world of possibilities.
What I especially love about Libby's approach is how she combines intricate beadwork with larger, dimensional polymer clay elements to create beautiful patterns, textures, and movement. And for artists who find cutting traditional mosaic materials challenging, these materials can offer a more comfortable way to continue creating.
What You'll Learn
- Design with confidence: Simple ways to develop your composition without overthinking the process.
- Create with polymer clay: Make folded, textured, and dimensional elements, adding paint, gold leaf, stamping, and other mixed media objects.
- Explore the world of beads: Learn about bead shapes, sizes, and techniques for working with both individual and strung beads.
- Choose the right adhesives: Discover how and when to use Apoxie Sculpt and tacky glue.
- Balance color and composition: Combine beads and polymer clay to create interesting patterns, contrast, and movement.
- Trust your creative instincts: Watch Libby work in real time, solve unexpected challenges, and allow her artwork to evolve naturally.
A New Way to Think About Mosaic Art
One of my favorite things about this course is that Libby doesn't expect you to have everything figured out before you begin.
She encourages you to experiment, make decisions, embrace the unexpected, and trust yourself to work through creative challenges along the way.
This course isn't just about recreating Libby's beautiful artwork. It's about learning techniques you can incorporate into your own mosaics and discovering new possibilities for your personal artistic style.
Whether you're an experienced mosaic artist looking for something different or someone curious about exploring mixed media, Libby's approach is approachable, exciting, and full of creative possibilities.
Join Libby as you discover how beads, polymer clay, and a little creative freedom can completely change the way you think about making mosaics!
Libby has included a resource guide for download that includes all of her favorite tools, materials, and resources.
Your Instructor
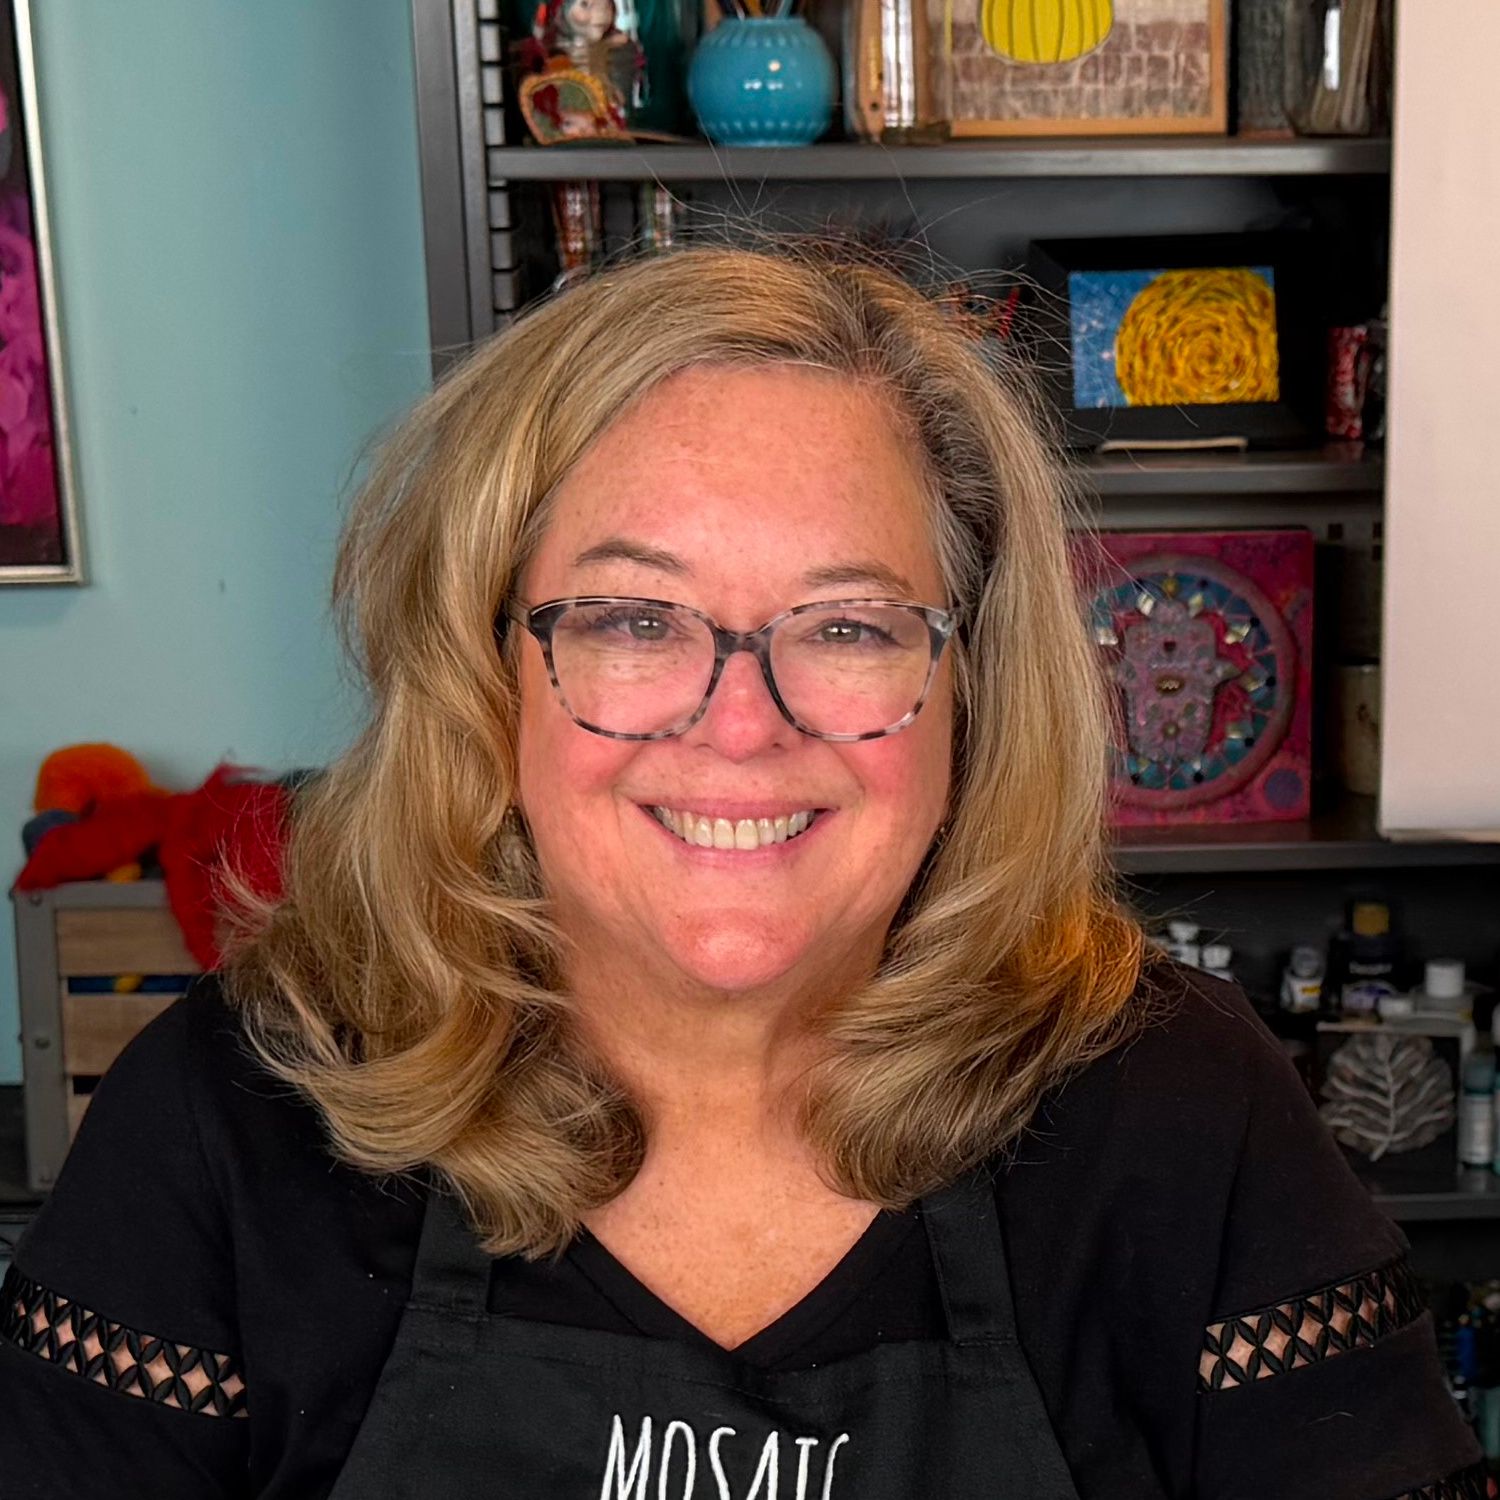
Libby Hintz started exploring the world of mosaic art in 2005. She was given a gift certificate to a local art community school and chose to take a mosaic class. She remembered growing up with the knowledge that her parents had made a coffee table with vitreous glass tile and was always intrigued how they did that. After the first class, Libby had so many questions and started looking for answers. She came upon a mosaic art Yahoo group where she could ask questions and learned of Sonia King and the new book (Mosaic Techniques and Traditions) she had recently published. Upon reading the book she discovered SAMA (Society of American Mosaic Artists) and began attending the conferences in 2009. Libby’s sister Michele suggested she make some belt buckles and sell them with her new found knowledge. Over the next 5 years Libby made over 700 individual patterns of belt buckles and sold them at shows in homes and in stores in New York City, Wayland, Massachusetts and Sayville, New York. She sees the belt buckles as the precursor or maquettes to the art she’s making now.
After having spent several years taking classes and experimenting with all types of materials Libby asked herself one day, what did she want to make, what would make her happy to sit down and make every day. She remembered the joy and peace she felt as a young girl who would make designs with her markers. Libby wondered if she could experience those same feelings using the materials and techniques she had learned along the way from her mosaic classes. She remembered taking a class with Laurel Skye who showed her patterns and textures and how a variety of materials could be used in her art. Libby remembered the class she took with Sharra Frank who introduced her to Apoxie Sculpt and how to run a line of beads in the adhesive and then pull the string out, leaving the beads in place. Laurie Mika introduced her to polymer clay: how to form it, shape it, embed things in it, paint it, texturize it and make tiles out of the clay. A new path was taken, born out of the thought to replicate the feeling she had when she would get lost in a big piece of paper and a new set of markers. She wanted to immerse herself in designs, textures, patterns using strings of beads, individual beads of all shapes and sizes and polymer clay slabs. Libby has been playing and experimenting with beads and polymer clay and how each can be manipulated to create the patterns, textures and designs that make Libby happy.
Course Curriculum
-
StartIntro and personal interview with Libby and Tami (11:00)
-
StartPDF Resource Guide for Download: Tools, Materials, and Supplies
-
StartCourse Overview (1:13)
-
StartBeads and Polymer Clay Tour (1:15)
-
StartTools and Supporting Materials (2:14)
-
StartGet Inspired Before You Make (1:44)
-
StartOpen the Polymer Clay and Condition It (2:06)
-
StartRolling Out the Polymer Clay (1:49)
-
StartThe Art of Applying Gold Leaf to Polymer Clay (18:29)
-
StartThe Polymer Clay Oven (1:14)
-
StartHow To Create an Undulated Polymer Clay Piece (3:56)
-
StartIs Your Polymer Clay Fully Baked? (0:54)
-
StartFrom Your Sketch to Composition: Finding Your Flow (1:27)
-
StartHow To Start Your Creative Flow (3:05)
-
StartApoxie Sculpt Adhesive for the Ball and Chain (12:14)
-
StartAltering the Polymer Clay with Stamps, Gold Leaf, and Paint (7:40)
-
StartLet's Talk About Beads (4:39)
-
StartStarting to Create the Flow (1:38)
-
StartAn Opportunity Not A Mistake (8:11)
-
StartNext Step: Creating Lines with Single Bugle Beads (9:10)
-
StartUse Your Older Apoxie Sculpt to Create Inclusions (2:19)
-
StartContinuing to Create in the Flow (19:48)
-
StartHow to Add Micro Beads to Your Inclusions (4:51)
-
StartGetting Creative in a New Section (8:25)
-
StartColoring in the Background (3:03)
-
StartFilling In the Small Spaces (4:30)
-
StartSee If Turning Your Substrate Informs Your Next Decision (8:42)
-
StartAdding Micro Beads to a Glue Bed (1:28)
-
StartAdding Elements to the Big Space (0:43)
-
StartCreating an Offset Pattern of Partial Negative Space with Tube Beads (9:01)
-
StartReview and Make Adjustments Using Your Camera (1:09)
-
StartGive Yourself Permission to ReMove and ReApply (3:47)
-
StartCreating a Template for a Small Section (4:25)
-
StartWork in Odd Numbers for a Balanced Composition (3:46)
-
StartKeep Fitting and Placing Until it Feels Right (2:46)
-
StartAdding The Last Details (3:13)
-
StartWrap Up and Thank You! (0:49)
-
StartA Few of Libby's Pieces for Inspiration