Beyond Adhesive: Apoxie Sculpt as Mosaic Material with Kelley Knickerbocker
You Knead this course!
Watch Promo Enroll in Course
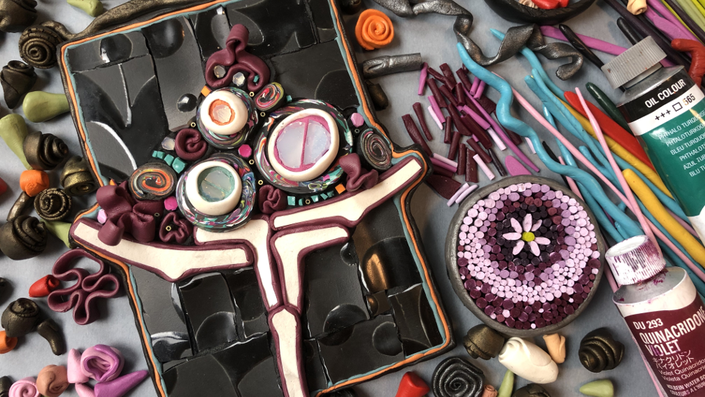
Mosaic Arts Online presents Kelley Knickerbocker and her online course, "Beyond Adhesive: Apoxie Sculpt as Mosaic Material." Apoxie Sculpt has gained a lot of fame in the mosaic sphere as an adhesive with filati and jewelry, but did you know this two-part epoxy putty (known as Apoxie Sculpt in this course) can also be tinted to any color and used as a mosaic material? Kelley has been innovating a number of fascinating uses for Apoxie Sculpt in mosaic for a while now, and to our delight she’s now brought them together for her exclusive online course for all of you to learn and enjoy.
First out of the gate Kelley walks you through how to color Apoxie Sculpt. She shows us how to use the black, natural and white products with certain paints to produce any color imaginable and then tint (add white) or shade (add black) any color to create its multi-value gradient. (Knowing how to create gradients is particularly useful later in the course when we make Apoxie Sculpt filati; gradient palettes make for much more nuanced and expressive micromosaics!)
From color Kelley moves on to gilding Apoxie Sculpt with metallic paints for brilliant or subtle moldable bling (learn why it’s more effective to gild the metallic paint onto the exterior rather than mixing it into the epoxy putty), then she demonstrates how to edge an entire mosaic with one or multiple colors of Apoxie Sculpt. Yep, you heard right. Apoxie Sculpt becomes as discrete or visible a frame as you wish, and protects your edges from dings and fingerprints. Did we mention you can also form bumps, curls, wrinkles, and divots into your edges, and tuck little surprises in between the mosaic and the Apoxie Sculpt edge and/or between the Apoxie Sculpt edging layers? These steps are where the adhesive, sculptural, and strength properties of Apoxie Sculpt come together!
And speaking of edging, be sure to have a few tesserae handy to practice wrapping individual tesserae (as many layers as you like!) for a bit of color zing or metallic bling anywhere in your mosaic, and get ready to learn how to contour design elements or sections of your mosaic with a line of Apoxie Sculpt for definition, emphasis, or continuity.
Kelley will also demonstrate how to form several elements out of Apoxie Sculpt, using it as you would any other sculptural clay to form rosettes, sticks, rings…let your imagination fly! And finally, you’ll create both round and uniquely-shaped filati in a color/size gradient and set it into black Apoxie Sculpt as a micromosaic.
When you’ve completed this course you’ll understand how to tint and form two-part epoxy putty like a pro; to add either subtle or dramatic color, texture and objects to enliven and protect your mosaics and strengthen/support your designs/compositions.
This course comes with a PDF for download of the suggested tools, materials, and resources.


Your Instructor

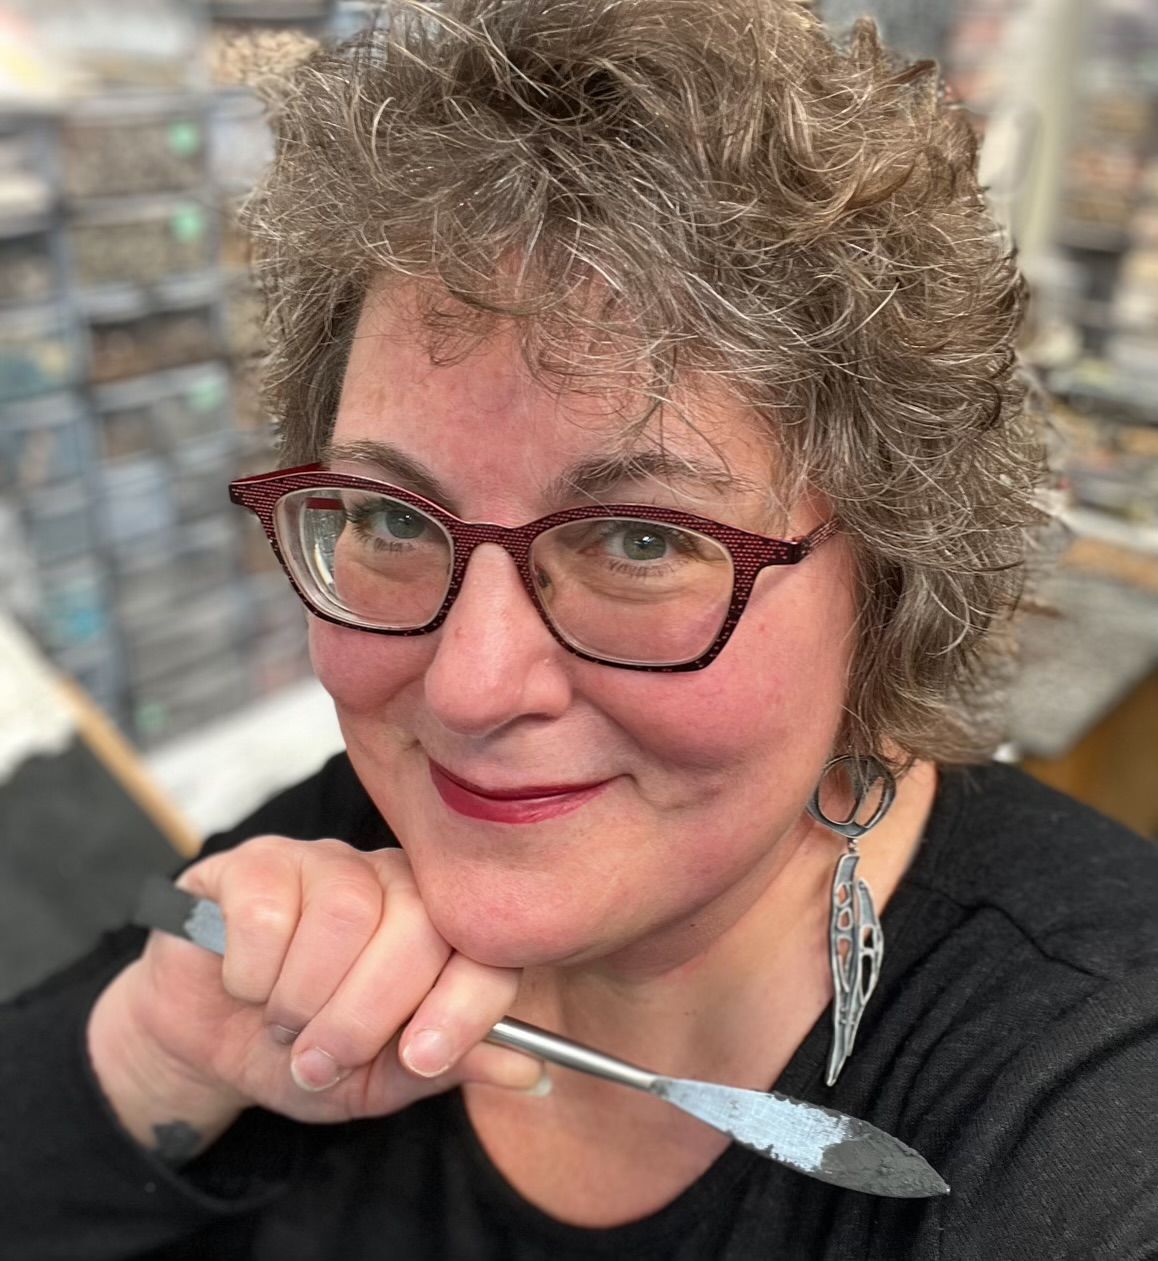
Visual artist Kelley Knickerbocker left a 22-yr administrative career at the University of Washington in 2006 to found a mosaic studio (Rivenworks Mosaics, Seattle) and direct her accumulated skills in project management and planning toward designing/fabricating/installing mosaic artwork for public, commercial, residential and gallery environments.
Kelley’s ruggedly dimensional mosaics, in a broad range of materials, are a textural distillation of her fascination with contrast, material properties and the technical challenges of mosaic construction. Sharing that fascination and learning from other art makers are keys to the freshness of Kelley’s mosaic practice, and she travels extensively throughout North America speaking, collaborating and teaching in-depth workshops on mosaic style and technique.
Kelley’s fine art mosaic panels have been accepted to numerous national and international juried exhibitions, and many reside in private collections. She is an active member of the Society of American Mosaic Artists.
Course Curriculum
-
StartIntro and Personal Interview with Kelley and Tami (10:58)
-
StartPDF for download. Tools, Materials, and Resources
-
StartOverview (3:06)
-
StartGetting started (8:09)
-
StartTinting basics (9:56)
-
StartTinted gradient (8:40)
-
StartShaded gradient (5:07)
-
StartGilding (9:55)
-
StartEdging basics (6:44)
-
StartEdging extras (6:51)
-
StartMultiple edges (3:02)
-
StartContour/divider (2:23)
-
StartSculpting elements (9:34)
-
StartMaking rings (6:27)
-
StartFilati set into Apoxie Sculpt (7:16)
-
StartFilati: Setting, adjusting (5:45)
-
StartFilati: Color/value choices (2:45)
-
StartFinal wrap up (4:06)